
Why would anyone want to grill pizza? You ask. We are all used to baking pizzas in ovens. However, you’ll be pleased to know that grilling pizza gives you a crispier and more flavorful crust than baking it.
That’s where yourWeber Smokey Mountaincomes in. It isn’t just for grilling BBQ; there’s a whole world of delicioza pizza waiting for you. We show you how to make pizza on Weber Smokey Mountain smoker.

Whether you are a camper craving pizza or at home wanting to experiment with making al forno pizza, we have compiled this comprehensive guide for you.
Why Use the Weber Smokey Mountain?
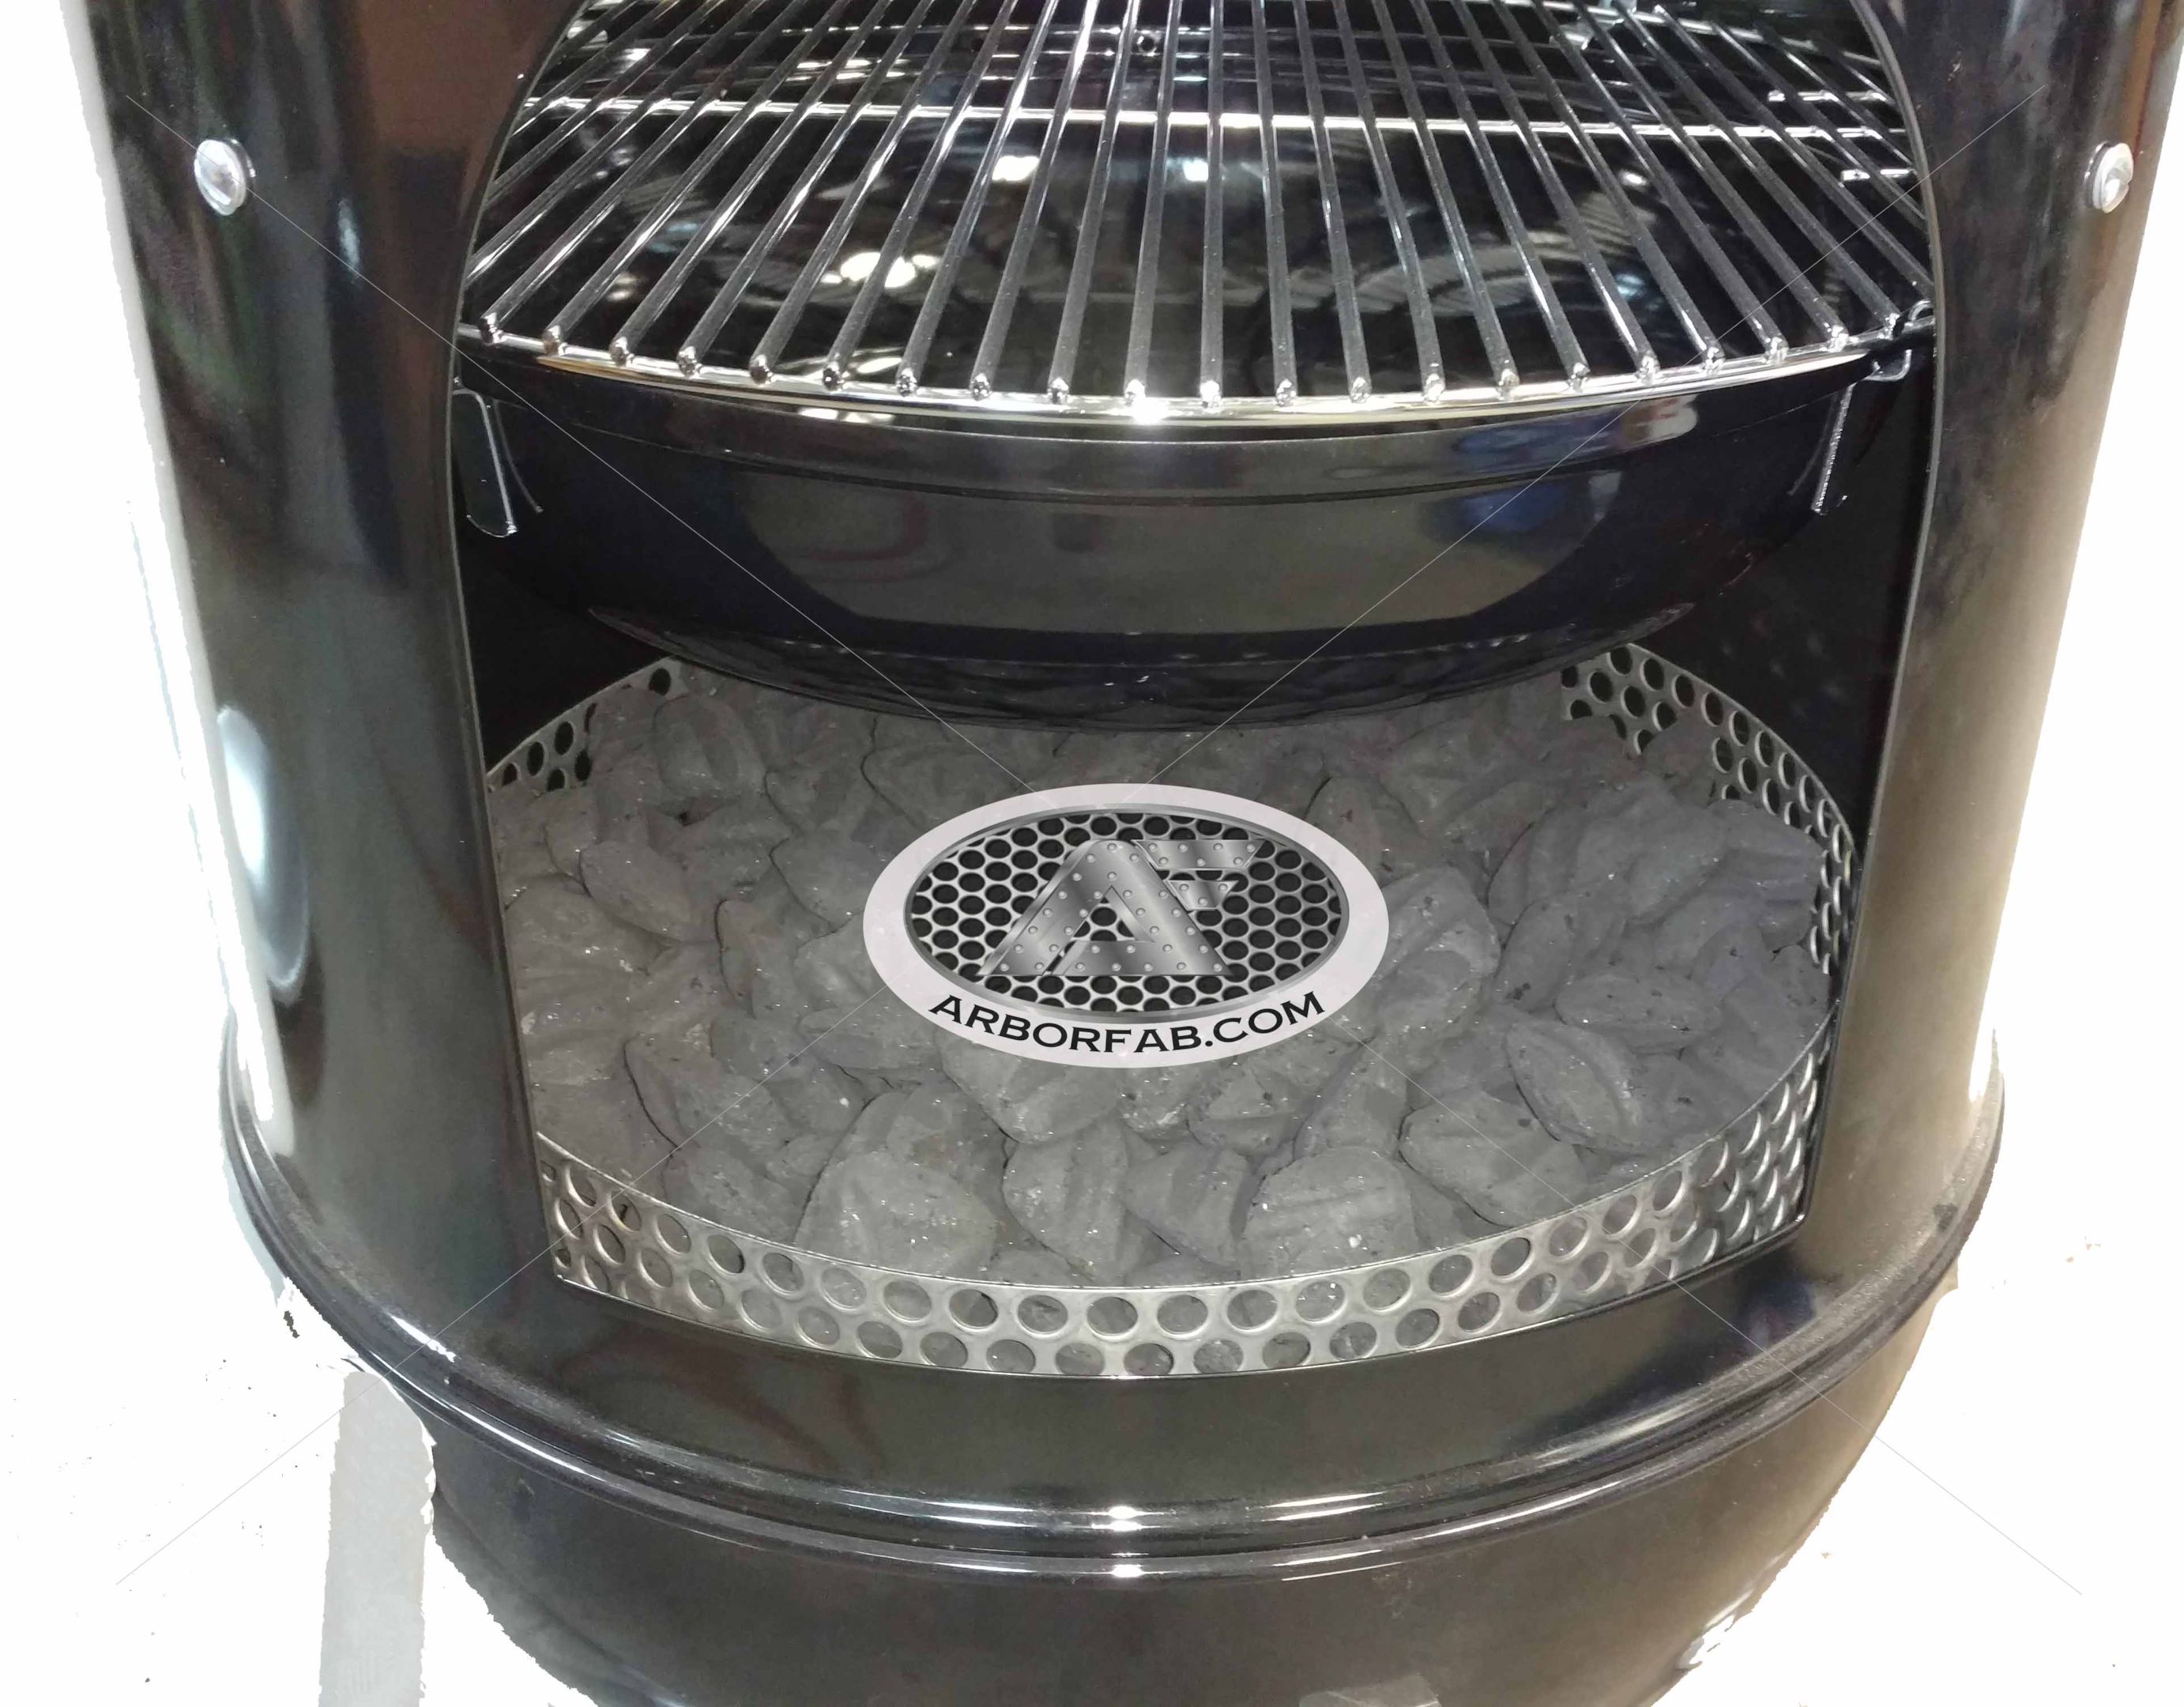
Image Credits: arborfab.com
The Weber Smokey Mountain is among the best grills in the market currently. It functions on fuel, wood, or charcoal. In terms of size, it is larger and more functional than the Weber kettle grill.
One of the best features of the grill is its beginner-friendliness and portability; anyone can use it anywhere.
If this is your first pizza using the Weber Smokey, don’t fret. Its usability is relatively easy and convenient. And don’t worry, the Smokey’s legs are sturdy.
You have two cooking grates to grill two pizzas at a time. There is a top and bottom cooking grate to provide extra grilling capacity.
If you are making two pizzas with different toppings, place the one that takes the slowest to cook on the lower rack and the other on the upper rack.
A Weber Smokey Mountain’s diameter is either 14″, 18″, or 22″, meaning you can have small, medium, large and extra-large pizzas. We will grill a 12″ pizza, which fits perfectly into a 30 cm by 40 cm by 2 cm rectangular baking pan.
The water pan is perhaps the most popular internal feature of the Weber Smokey Mountain. It serves these purposes:
- It acts as an internal heat regulator.
- It ensures the pizza isn’t as dry as if without (by steaming it).
- It gives your pizza a smokey, campy flavor.
The grill also has a side access door that allows you to regulate heat by adding more smoking wood or pulling some out.
Making a Pizza on a Weber Smokey Mountain Grill
1. Picking the Pizza
You will first need to decide which type of pizza you want to make, whether it’s a simple Margherita pizza, a Capricciosa, or a Roman pizza. Some of the best traditional Italian pizza recipes can be found here.
For all intents and purposes, we shall make a Roman pizza al forno. You are making a pizza with a Weber Smokey Mountain grill; you should go all out in the presentation. Besides, Roman pizzas are among the best al forno pizzas.
You have probably seen or eaten a Roman pizza before; its signature rectangular shape is all too striking.
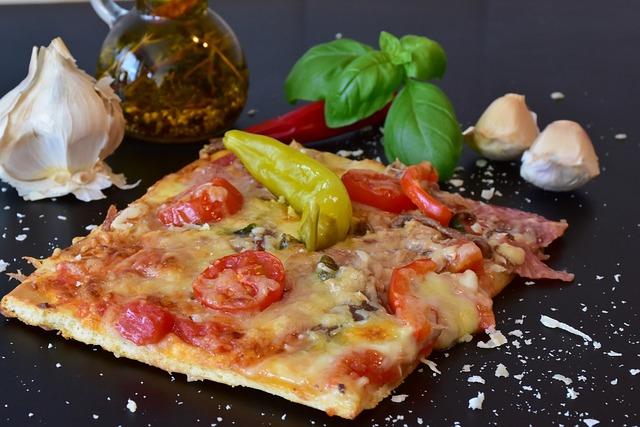
Image Credits: Pixabay.com
Al forno means the pizza is baked in a pizza oven powered by wood fuel. See those Italian films where pizza is inserted on a pizza stone using a pizza peel into a cave-like structure with heat? That’s how an al forno pizza is made.
The high temperatures created in the grill significantly improve the flavors. You will serve your ready pizza by gently cutting it with special scissors aptly called ‘schizzas.’ Nothing could be more Italian.
Now we are set. Your pizza of choice is a Roman pizza, and the grill of choice is the Weber Smokey Mountain. So we shall first prepare the pizza and then prepare the grill for baking.
2. Setting up the Weber Smokey Mountain

Image Credits: smoking-meat.com
Preparing your Weber Smokey Mountain grill is pretty easy. The steps are as follows:
- Arrange the charcoal in a charcoal ring at the bottom. Some versions of the Smokey have top charcoal compartments instead of the bottom pan.
- Light the charcoal briquettes using Weber’s fire starters, or purchase some at your local store. An alternative is to start a fire the boy scout way.
- Fill the water bowl with 2 gallons of water. If you are up for it, you can experiment with other liquids, such as beer. The working principle is the same.
- Heat the pizza stone (if you’re using one). The grill should be heated as well, naturally, of course.
Remember to regulate the grill’s temperature constantly using the in-built thermometer.
Your Weber Smokey is good to go, and your pizza dough is ready too. The next step is to finish setting up your Roman pizza (we should call it masterpiece at this point) and grilling it in your Smokey.
3. Preparing the Pizza Ingredients
Typically, your pizza will require some requisite ingredients. This is one of the most essential steps. Having a list while grocery shopping will be valuable.
The ingredients you will need are:
- Premium Italian 00 flour, such as Caputo Tipo 00 or Ciabatta Romana. Here is a list of other premium flour you may use.
- Extra virgin olive oil
- Yeast
- Mozzarella cheese
- Tomato sauce
- Garlic
- Salt
- Sugar
- Basil
- Oregano
- Bay leaf
- Coriander
- Bell pepper
- Pepperoni
- Onions
- Other toppings you may wish, such as mushrooms, sausage, or pepperoni.
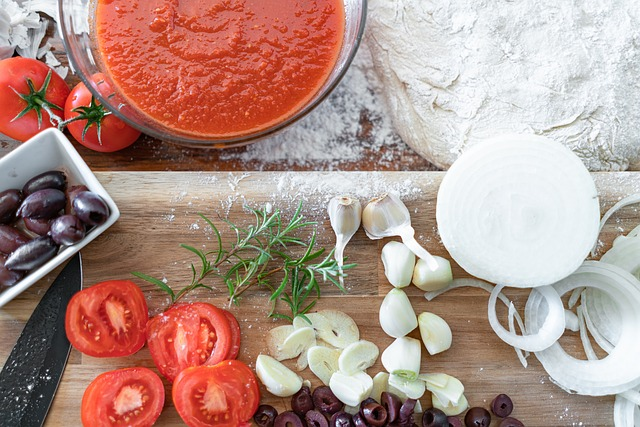
Image Credits: Pixabay.com
4. Making the Pizza Dough
The next step is making pizza dough. You may buy pre-made dough from local pizzerias or food stores or make it from scratch. Whichever method you prefer, ensure the dough is fresh; this will maintain the pizza’s original flavors.
If you decide to make the dough yourself, you can include as many customizations as you want. For instance, you could add paprika to make the crust more flavorful. A homemade pizza is always sweeter than a store-bought one if you follow the cooking instructions.
The perks of making your dough are numerous. Remember, the dough will make the crust, which is the most important part of al forno pizza. Our intention is to have a crusty, airy, sweet, and chewy crust.
Toppings are always bonuses. They complement the flavor.
The steps to make the perfect pizza dough are as follows:
- Mix lukewarm (or room temperature) water with yeast in a mixer bowl. Whisk to produce a frothy solution, then let that sit for about 5 minutes.
- Mix this solution with flour, one tablespoon of olive oil, one teaspoon of salt, and one teaspoon of sugar (optional). You should have a soft dough.
- Knead the dough by hand on your clean work surface for another 5 minutes. It should be elastic and not rigid.
- Move the dough into a bowl and cover it with a wet kitchen towel or plastic wrap. The dough should rise till it gets bigger. This will take about one and a half hours.
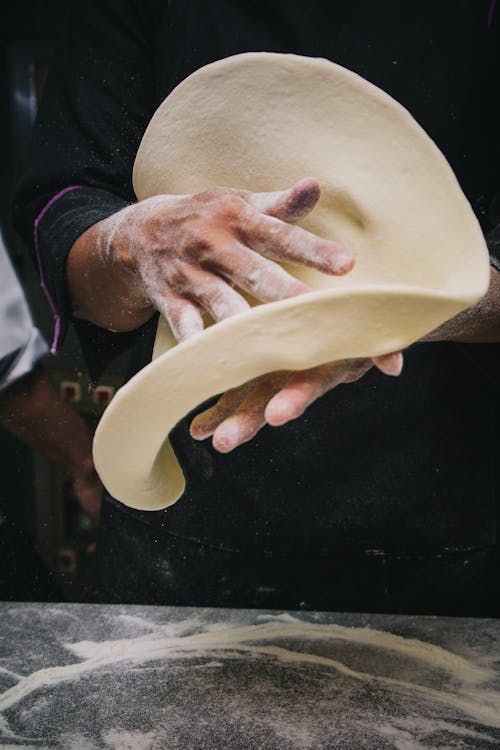
Image Credits: Pexels.com
Tip: The pizza dough must be prepared before grilling because it will have to rest in the refrigerator for two days.
5. Adding the Toppings
The recipe to make the tomato sauce is as follows:
- Wash tomatoes and blend them into a tomato pulp.
- In a saucepan, fry garlic and onions in olive oil. Add salt, basil, bell pepper, bay leaf, and any other condiments of your choice.
- Add the tomato pulp and stir until it boils.
- Lower the heat to a simmer.
The tomato sauce is what will set apart a plain Roman pizza from a Roman Margherita pizza. You could also include other ingredients, such as mozzarella prosciutto and artichoke hearts, as toppings to make the pizza a little more Capricciosa.
When spreading the pizza sauce on the crust, leave a half-inch space at the edges. You should then add a dash of olive oil to the crust and spread it evenly. Then add the tomato sauce, cheese, and any toppings of your choice.
Another pro tip is not to weigh down the crust. Instead, place only a little emphasis on the toppings so as not to ignore your Roman crust.
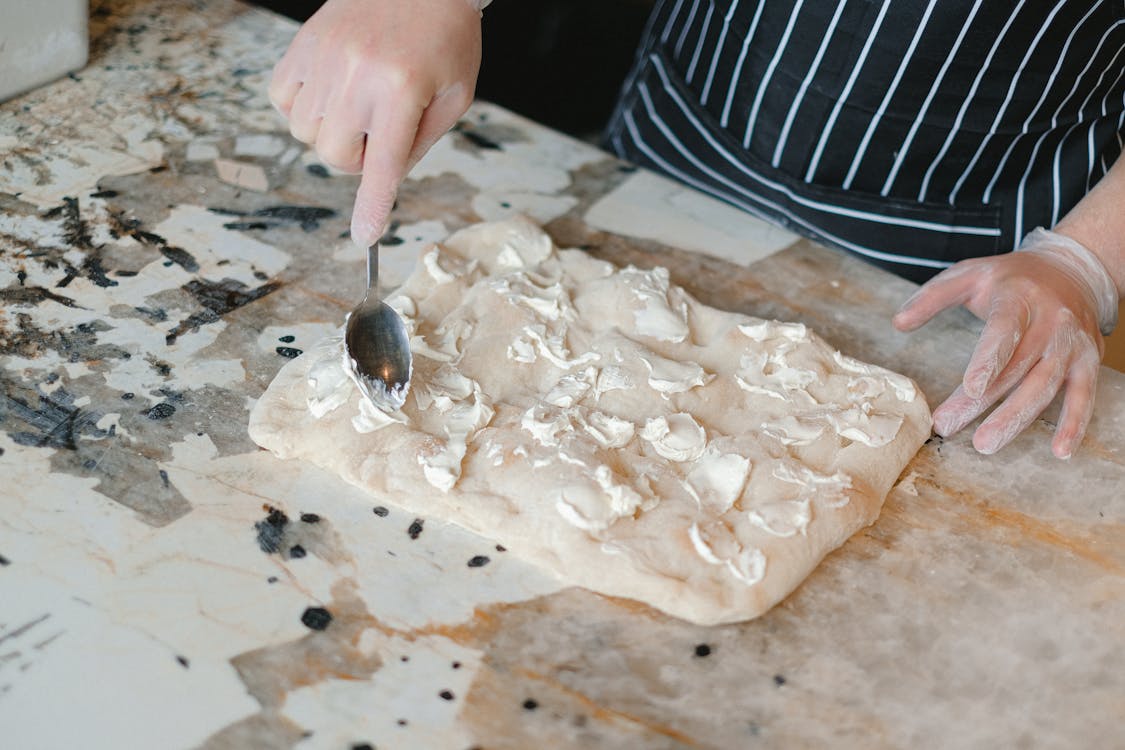
Image Credits: Pexels.com
Now that your pizza is ready to be cooked, we can begin working on the Weber Smokey Mountain.
6. Grilling Your Pizza
By now, your pizza stone and grill are preheated enough – at 350° to 450°F for 15 minutes. A pizza stone distributes heat evenly, making the pizza grill evenly. Therefore, you won’t have overly cooked areas and undercooked ones.
You can spread some cornmeal on the pizza stone to prevent your pizza crust from sticking to the stone. Or you can grill it directly on the grate. However, removing the pizza after it has cooked might be tricky with the latter.
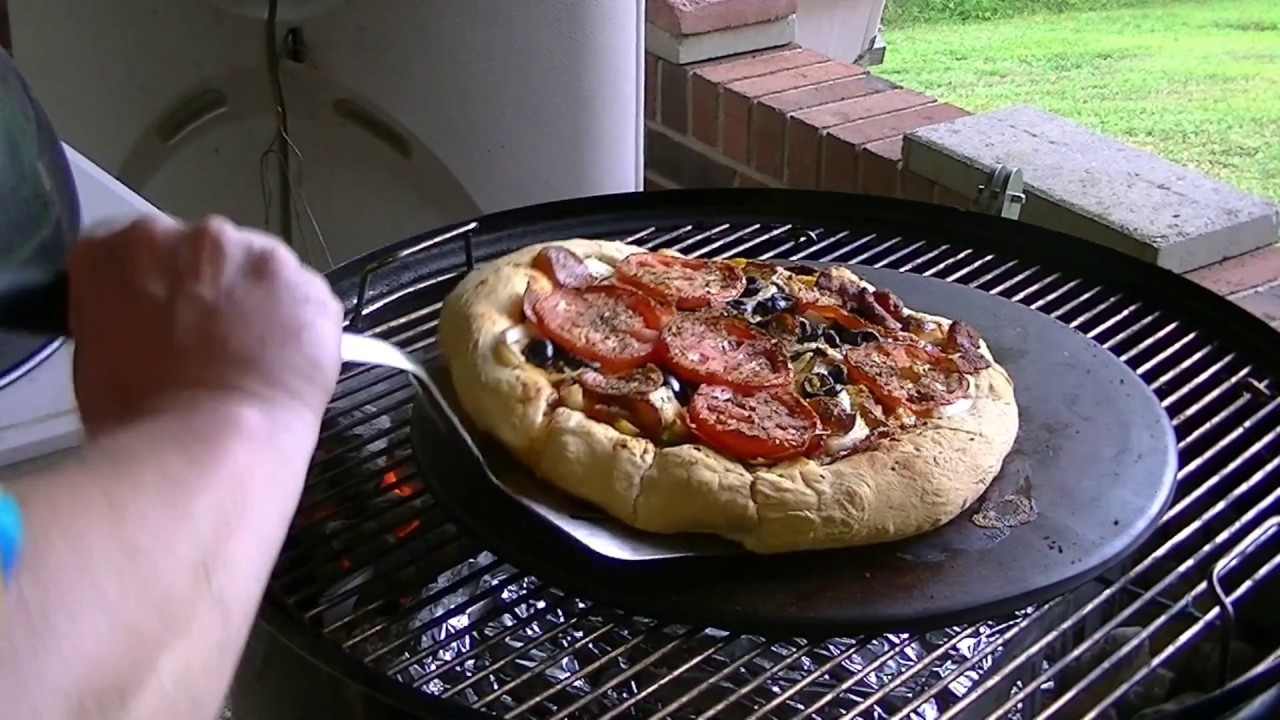
Image Credits: DaBomb Smokes on Youtube.com
Gently place your pizza on the grate with a pizza peel. Since a Weber Smokey Mountain is relatively small, you may use whatever utensil you have at home, such as a large spatula or oven mittens. For larger ones, use heavy gloves.
Start baking over medium heat at 500°F until the exterior crust is crisp. The cheese should also be melted. This will take about ten minutes to cook.
Your grilled pizzas are ready! Pat yourself on the back. You’ve grilled your first Roman pizza using the Weber Smokey.
Transfer your pizza from the grill grate to a cutting board or tray. Let it cool for a bit as you prepare a drink to accompany your pizza. Using your schizzas, cut the pizza into rectangles or squares and serve while still hot. Relish all the intricate flavors of your pizza.
Tips For Grilling Pizza Using Weber Smokey Mountain
a) Safety
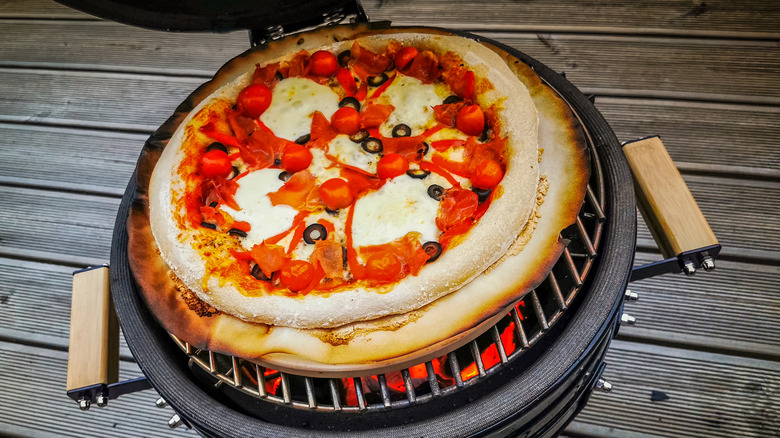
Image Credits: mashed.com
The first tip to consider is safety. When operating the Smokey when cooking, be careful not to be burnt. If you need to add water, use heavy gloves and a piston-type bottle to add water.
However, this is just a general tip and not one to consider when grilling pizza. You will not need to add any water or fuel while making a single batch of pizza.
In fact, you may choose to make your pizza without the water pan. It will grill all the same and still have that fantastic flavor.
b) Seasoning
If it is your first pizza using the Smokey (or any food at all), consider doing a dry test run, that is, without food. It will give you a taste of how the actual process will be. This is known as seasoning.
c) Regulating Temperature
The Weber Smokey Mountain has a lid thermometer that will display the temperature even as the pizza grills. Another important tip is to check the temperature after every fifteen minutes. Ensure it does not exceed the set temperature; if it does, regulate heat through the access door.
d) Cleaning
After making your pizza, clean your grill before it gets cold. With a pizza stone, cleaning is more manageable as no food gets to the cooking grate. You can easily clean the Smokey through the access door with soap and warm water. Dump the collected ash and any water remaining in the water pan.
The Benefits of Grilling Pizza Using Weber Smokey Mountain
The unifying factor between experts and amateurs who have used the Weber Smokey is that they love it. However, as experience kicks in, pros can tell you that it takes skill to control the grill’s temperature, humidity, and smoke.
Imagine applying this skill to making your pizza. And yet, even without this expertise, Weber Smokey’s ease of use makes up for the lack of experience.
:max_bytes(150000):strip_icc():format(webp)/__opt__aboutcom__coeus__resources__content_migration__serious_eats__slice.seriouseats.com__images__2012__05__20120520-kettle-pizza-insert-round-two-primary-453780b79eb74b5391dc1b8b0b1f676c.jpg)
Image Credits: seriouseats.com
The following are some of the benefits of mastering and using a Weber Smokey to grill your pizza:
- The water pan will ensure your pizza is moist and warm even if left for hours before being served.
- You can use flavored smoking wood as fuel, adding more flavor to your pizza.
- Your pizza will be evenly cooked, even without a pizza stone.
- Compared to a home oven, your pizza will cook faster.
- Its small size and portability allow you to enjoy a pizza anywhere.
- Easy cleanup after the pizza has cooked.
Frequently Asked Questions (FAQs)
1. Do I need a pizza stone?
Not exactly. You could use a baking sheet to make a few pizzas. However, a pizza stone is essential to distribute heat evenly.
2. Why should I leave the dough in the refrigerator for two days?
A Roman pizza should have an airy crust, and this is only developed by the large air bubbles created by storing the dough in a refrigerator for at least 48 hours.
3. Is Weber Smokey Mountain safe to use?
Your Weber Smokey takes out the heat from the air inside your house to your backyard. There is plenty of air circulation outside. Also, its exterior is well-insulated, so it doesn’t get hot despite how long it’s been cooking.
4. How much charcoal do I need to make a pizza with my Weber Smokey Mountain?
The charcoal you will need for your Weber Smokey is proportional to the charcoal you are using, how long your pizza will cook, and the temperature outside. Therefore, you will not need to refill your charcoal pan while making pizza.
Featured Image Credits: anotherpintplease.com


