Grilling pizza is one of the best ways to prepare homemade pizzas, especially during summer when you want to keep that heat out. It gives the pizza the restaurant-style crispiness and smoky flavor. However, cooking pizza on a grill is an experience that some may not consider. But from my several trials, I can attest that it is not as tricky or messy as many people would think.
Grilling is the perfect way of cooking a delicious charred crust with a good wood-fired crisp crust taste without a stone. The basic tips for cooking pizza on the grill without a stone are to get prepared and be fast. Read on for a guide on how to cook pizza on the grill without a stone.
Cooking Accessories
1. Grill Grate
You’ll need a grill grate and fuel or coals to heat the grill. Besides, cooking pizza on the grill doesn’t follow the same procedures as normal pizzas. So, be ready to experience something new.
2. Kitchen Brush
It’s important to have a kitchen brush to oil the grill grate and the dough.
3. Pair of Tongs
Grilled pizza is different because it is cooked on both sides and has that amazing crunchy yet juicy crust. Therefore, a pair of tongs is necessary to toss it over safely.
4. Fork
It’s not compulsory, but you may use a fork to poke the dough on the sides to infuse the smoky flavor and aroma of the toppings
5. Sheet
Using a baking sheet to carry the dough while cooking on the grill would be very safe.
Ingredients
Choosing the ingredients depends on your preference. But when it comes to grilled pizza, simplicity is the key. Keep your toppings light yet delicious. For instance, you can choose a pizza with basil leaf toppings.
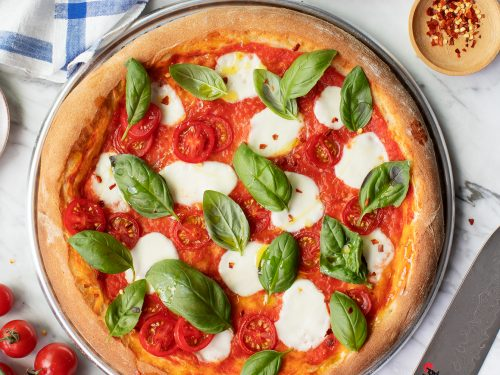
Image source: loveandlemons.com
Here is a list of the basic pizza ingredients
- Pizza dough, store-bought or homemade.
- A small amount of flour to dust the working surface to prevent the dough from sticking.
- A less watery pizza sauce.
- Cheese.
- Toppings from either meat varieties or veggies.
- Olive oil
- Finishers like parmesan or hard cheese, but this is optional.
Steps on Cooking Pizza on the Grill Without a Pizza Stone
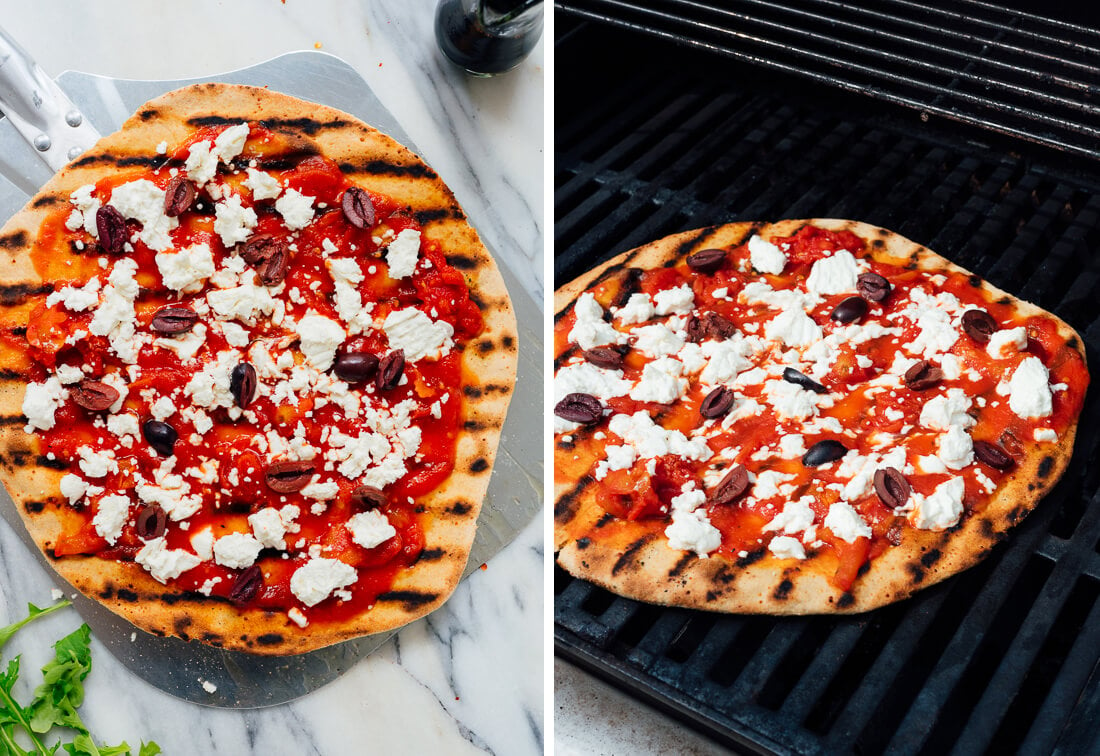
Image Credits: cookieandkate.com
Step 1: Make the pizza Dough
Whether you make pizza dough from scratch or use store-bought dough, grilled pizza will come out great. If you have frozen the dough, thaw it in the fridge for 3 to 4 hours.
An hour or two before cooking, take the dough out of the fridge and warm it for 10 minutes. Sprinkle a few drops of olive oil over the warm dough and cover it with plastic wrap or a kitchen towel.
Rest the dough on the countertop for at least 30 minutes to proof it before rolling it.
Step 2: Heat the Grill
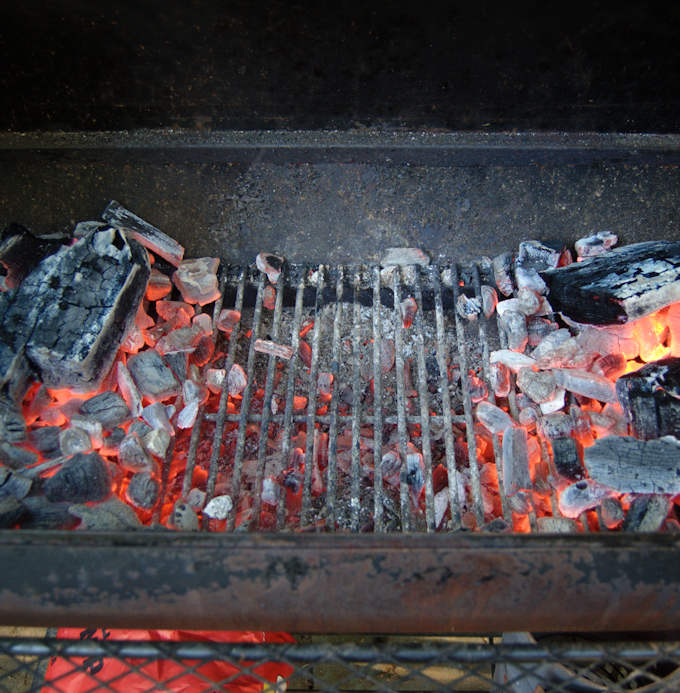
Image Credit: baking-sense.com
Heating the grill depends on the type of grill you are using. For example, quick-start briquettes could be hot in 15-20 minutes, a gas grill in 10 minutes or less, and hardwood lump charcoal could take 45 minutes. No matter the type of grill, it should be heated to 450 degrees Fahrenheit when the dough is ready to go on.
Step 3: Prepare the Toppings
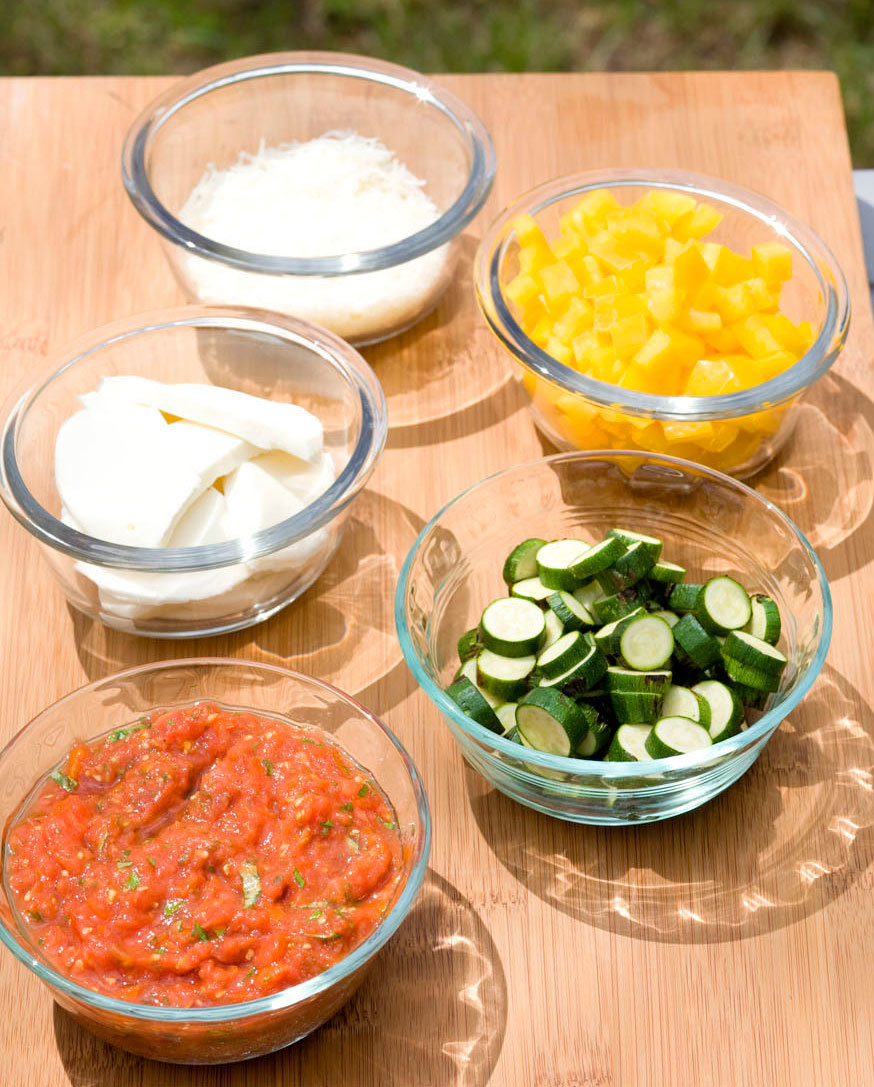
Image Credits: eatingwell.com
As you wait for the grill to heat and the dough to proof, start preparing your favorite grilled pizza toppings, including the cheese and sauce. Getting everything ready is key to success with this kind of recipe. Slice, chop, and cook the toppings you want to add to the pizza.
Step 4: Shape the Pizza Dough
Once the dough is proofed, it can easily be shaped into a pizza. First, lightly flour your hands and the working safe to avoid the dough sticking to your hands and the working surface. Next, shape the dough by flattening it using your palm. Let the stretched dough sit for 3 to 5 minutes, then spread the dough edges with your fingers to make a circular base.
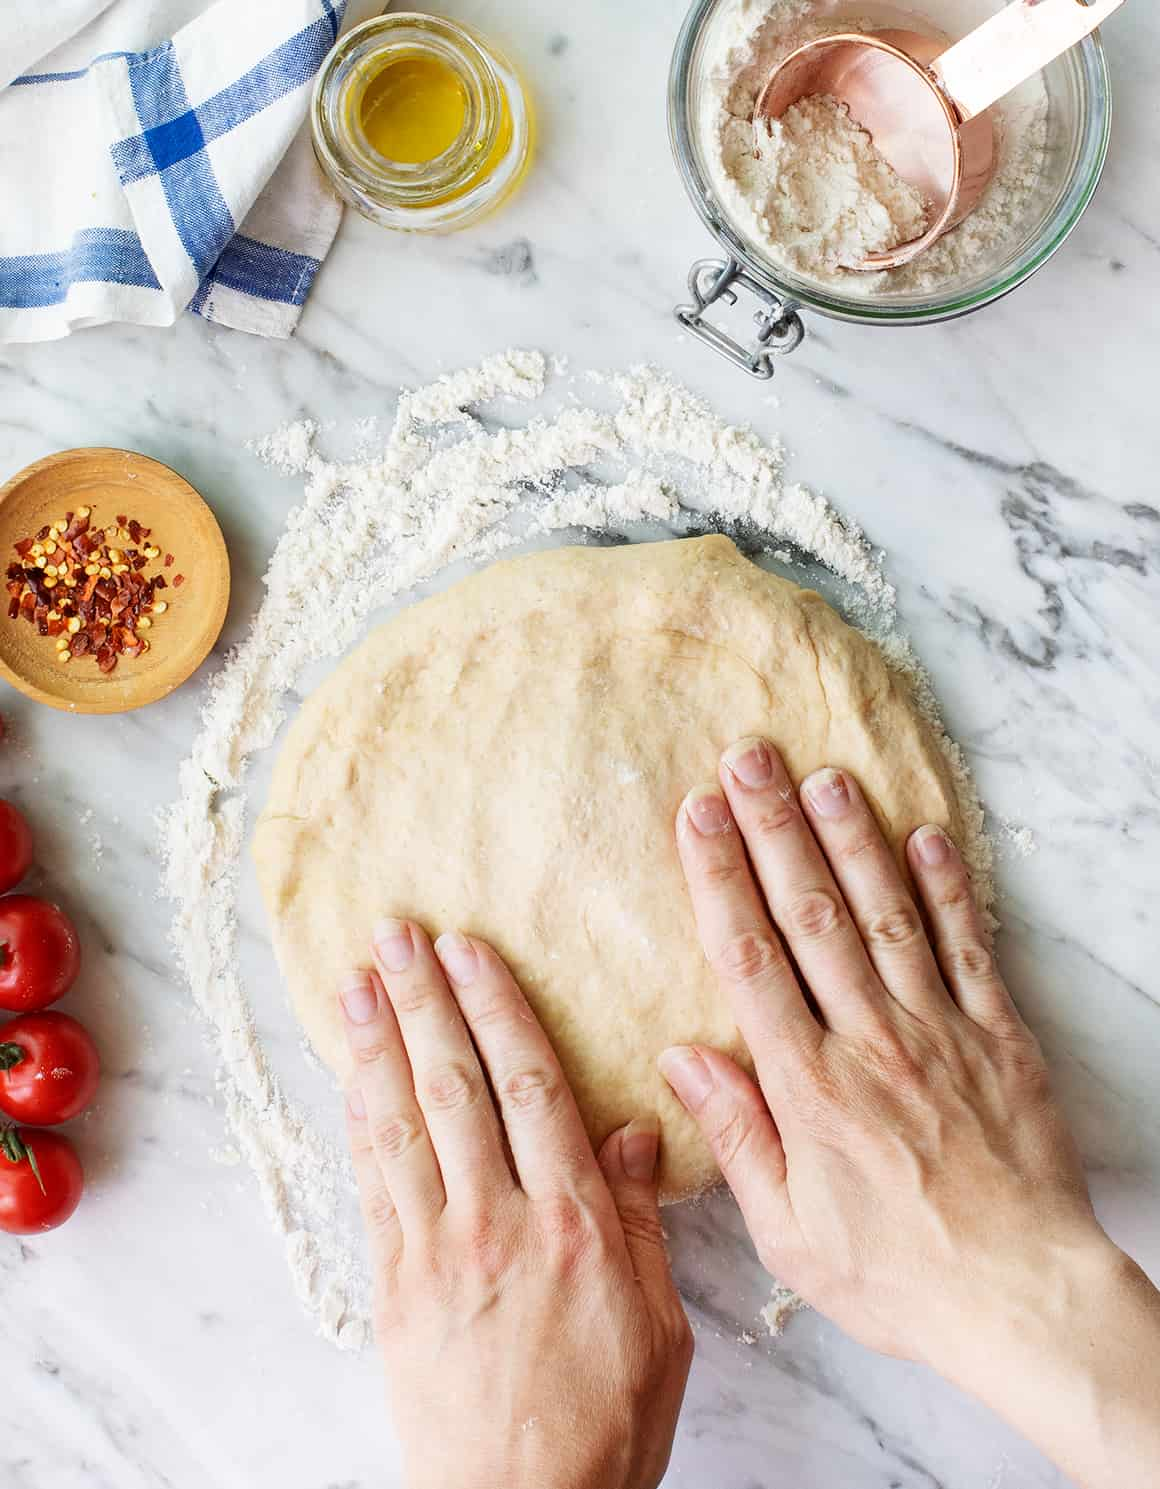
Image Credits: loveandlemons.com
Lift the pizza dough and let it hang with the center sitting on the palm of your hand to allow it to stretch out further.
Put it back on the work surface and continue spreading it out using your fingers to ensure the surface is even and the edges are of equal thickness. The size should be about 12 to 14 inches in diameter.
Step 5: Oil the Grill
One concern I had with putting pizza dough directly on a grill without a baking stone was the dough falling through the grill grates. If you share this concern, rest assured it will not happen.
Immediately after the dough is placed on the hot grill, it contracts and forms a solid base that will hold your array of toppings.
Before you start grilling pizza, brush the grates with olive oil or butter using a small kitchen brush. This keeps the pizza dough from sticking to the grates. Also, brush some olive oil onto the pizza dough to make juicy and flavorful crusts.
Step 6: Grill One Side of the Pizza Dough
Use a pizza peel or floured baking sheet to help transfer the dough to the grill. The pizza peel and baking sheet slide off the dough easily and quickly onto the grill. Cover the grill and cook the pizza dough for 2 to 3 minutes. Next, use the tongs to peek and check the pizza base.
When the base is ready, it will slightly char and give a delicious smoky aroma and flavor. This should take 2-5 minutes, depending on how hot your grill is but keep an eye to prevent it from burning.
Step 7: Inspect the Dough
If the grill is adequately hot, the dough’s underside should brown within 2 to 3 minutes. Ensure the underside is well cooked before flipping the dough to grill the other side. There are a couple of ways to inspect the dough.
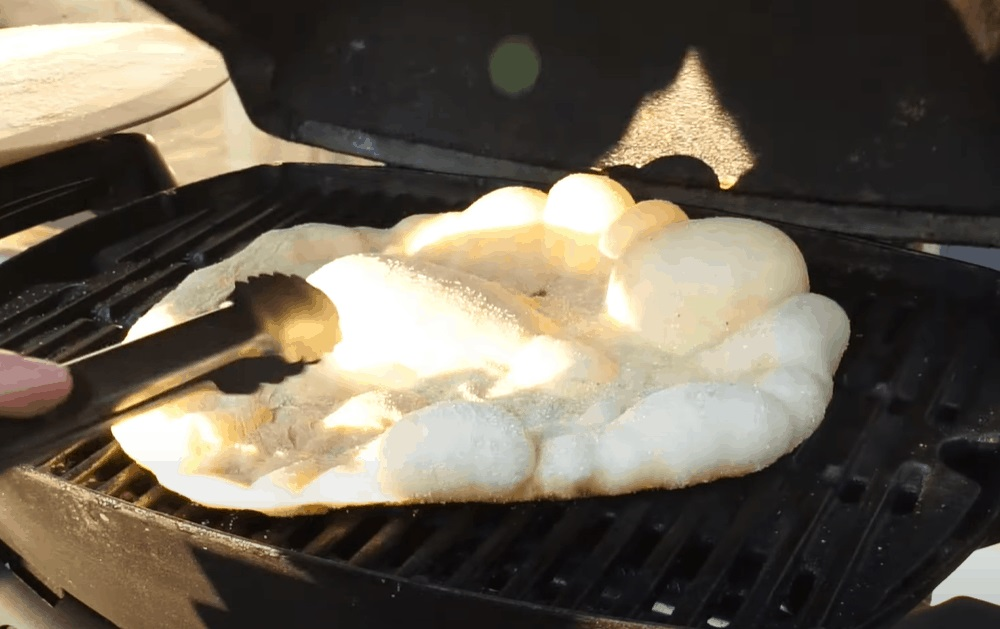
Image Credits: bacinos.com
First, look for air bubbles on the top side of the pizza dough. If there is none, close the grill and give it an extra minute. This might take longer if the grill wasn’t hot enough initially
Another way to check if the dough is ready for flipping is to slightly lift the dough using the tongs to check for browning on the underside. If the pizza base is evenly browned, you can flip it to cook the other side, but if not, again close the grill and keep cooking a minute at a time until the bottom begins to brown.
Pro-tip: You can use a fork here to make tiny holes in the dough to prevent air pockets from bubbling up as the dough cooks. This makes it easier to absorb the heat and toppings.
Step 8: Flip the Pizza Dough
Once the underside is browned lightly, use your baking sheet or pizza peel to remove it from the grill. Then flip it over using the tongs so that the top side faces down. If your pizza is large, use the baking sheet to help flip it. This will prevent the dough from possibly tearing.
Cook the dough for 3 to 5 minutes or until it browns.
Pro-tip: Opening the grill cover causes heat loss. So, before flipping the dough, cover the grill for five minutes to get it to heat up adequately.
Step 9: Add Toppings
If you flip your dough on the grill, time is of the essence when it comes to toppings. You should start adding your toppings immediately and fast enough to melt the cheese without burning the pizza base.
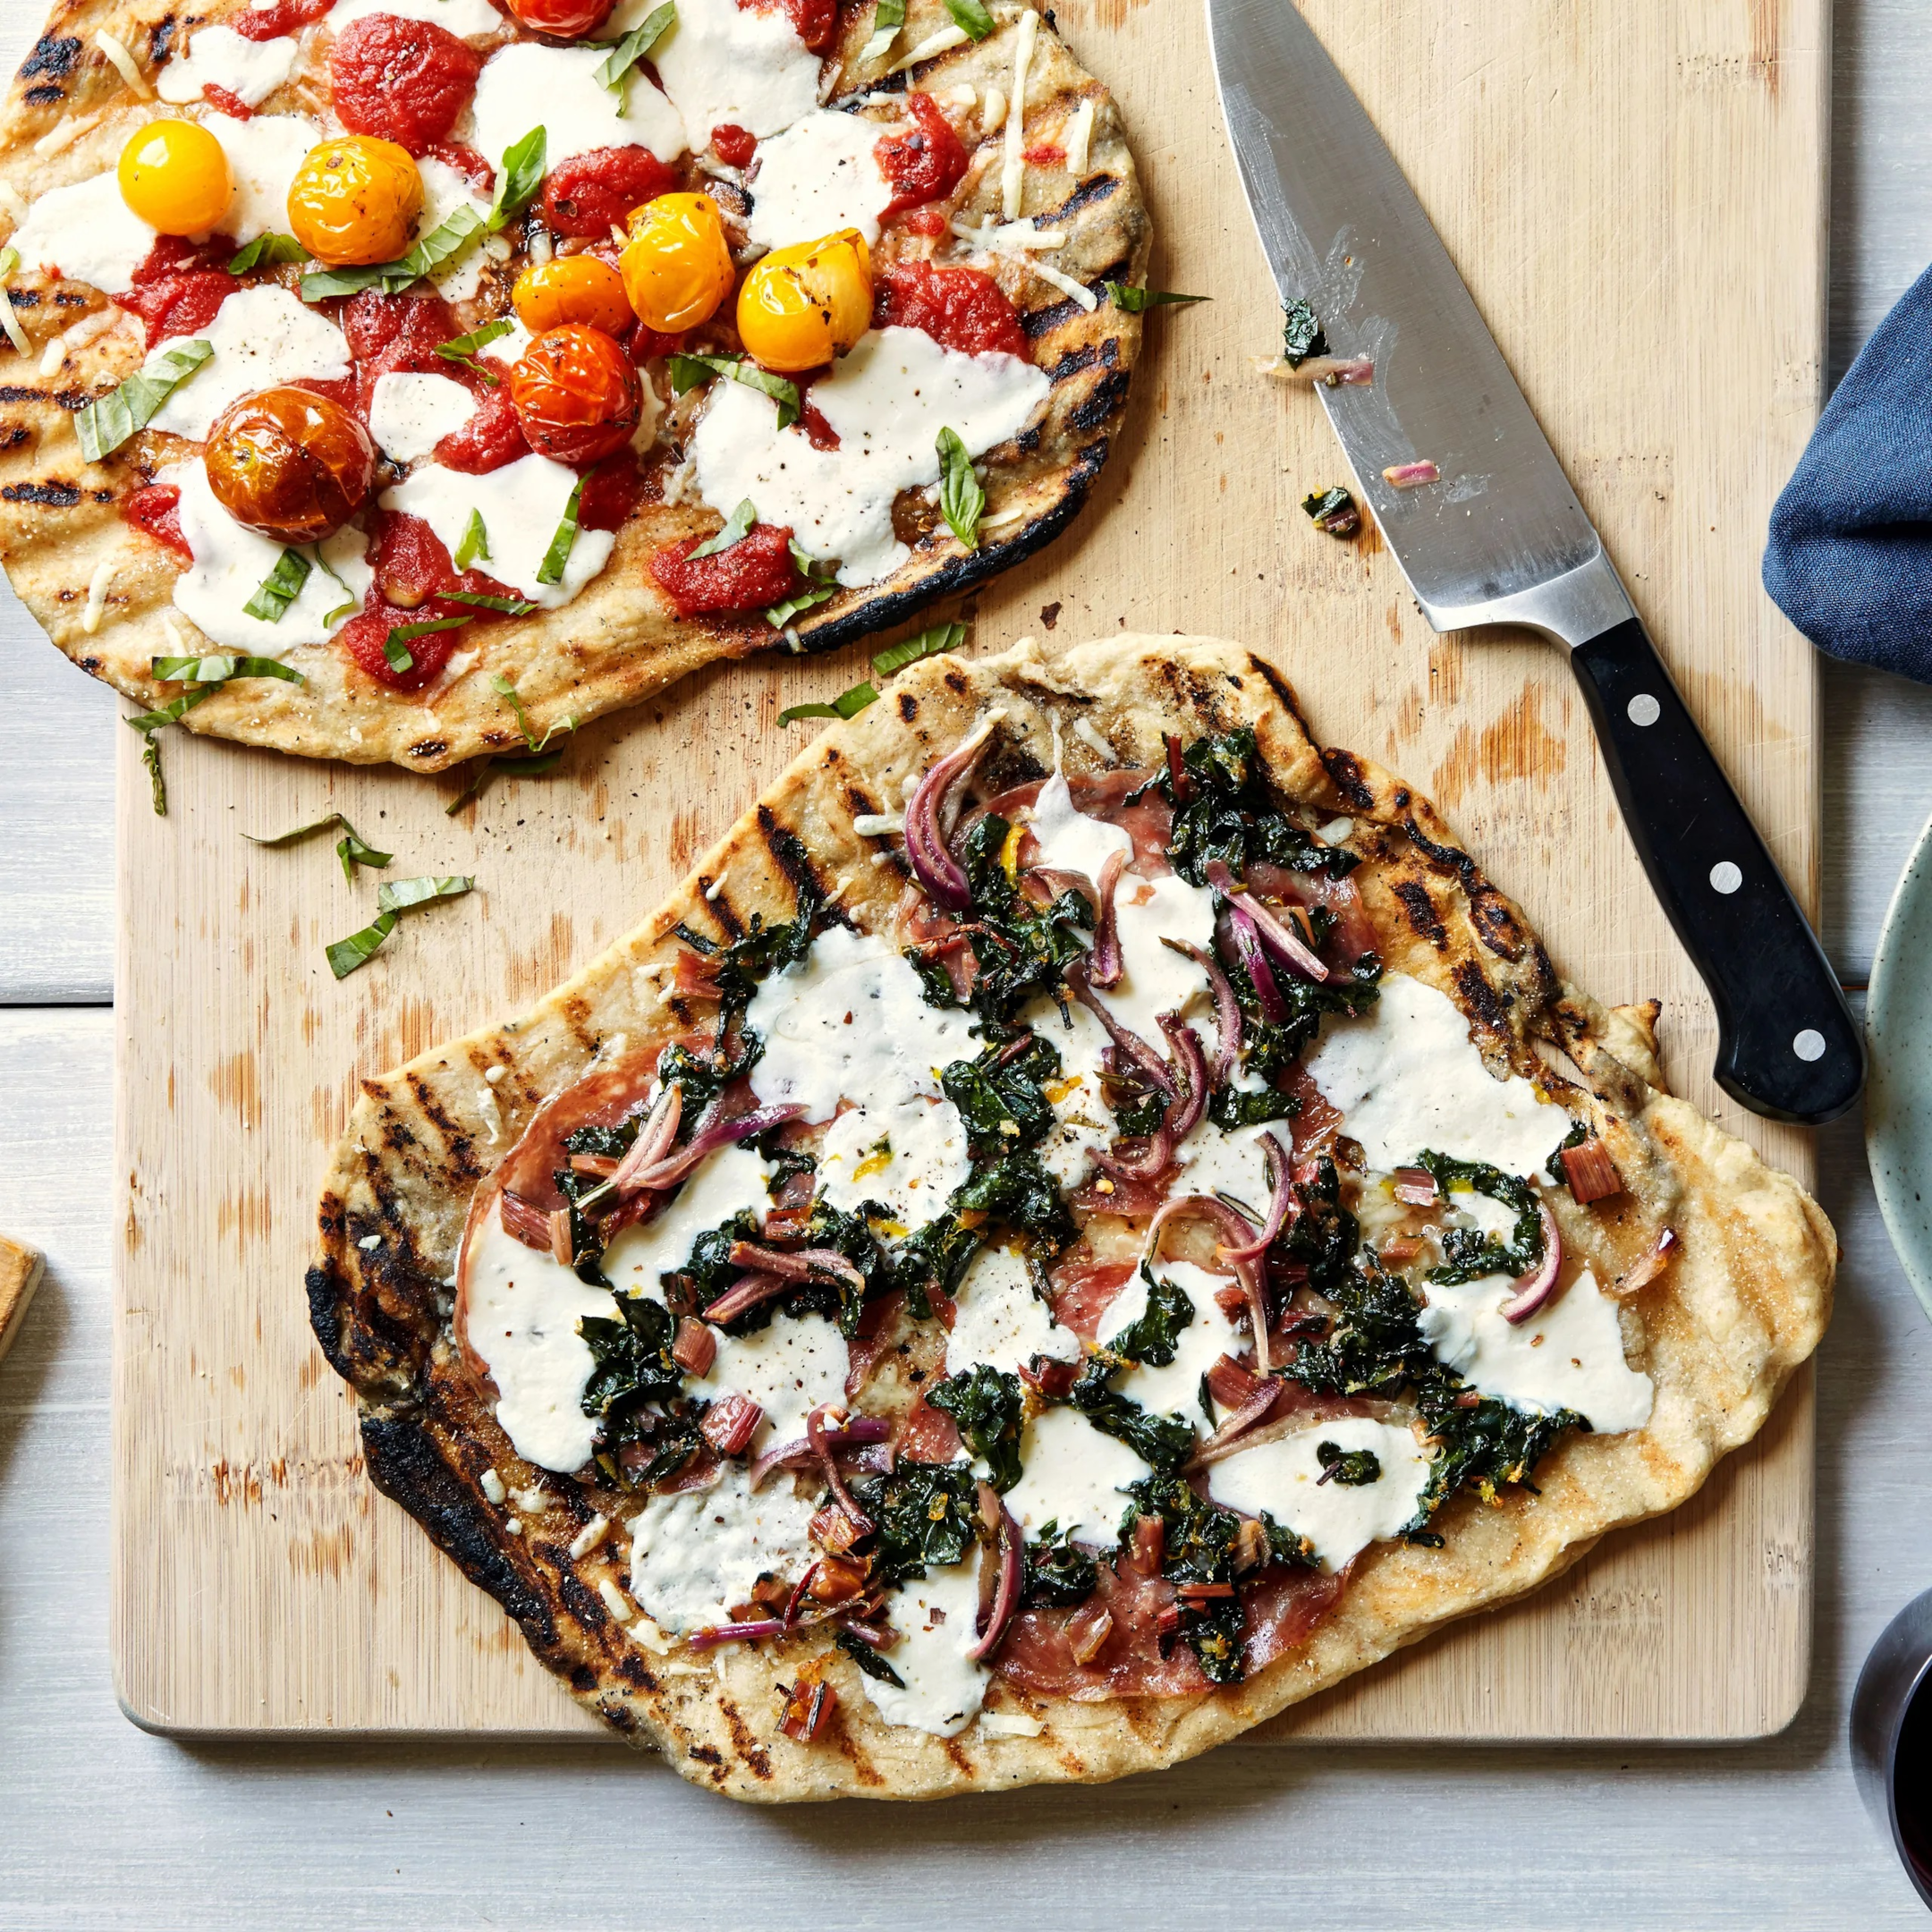
Image Credits: epicurious.com
There are two things to consider when adding toppings to a grilled pizza, especially when you are not using a pizza stone. First, be moderate with the sauce. A single layer is enough. More will make you end up with a soggy base.
Second, do not overload your pizza with toppings. Too many toppings will weigh down the pizza crust, breaking it. The secret to a great grilled pizza is a thin, crunchy crust with a well-balanced layer of toppings.
Step 10: Slide the Pizza Back onto the Grill
If you can’t add the toppings fast enough while the dough is on the grill, leave it on the baking sheet or pizza peel and add the toppings. Once you’ve added the toppings, slide the pizza back onto the grill and cover the grill for three minutes to melt the cheese and cook the underside of the dough.
However, if you’re adding the toppings while the dough is on the grill, cover the grill when you are done for only one minute. One minute is enough to melt the cheese and leave the base neither too crunchy nor too charred.
When the pizza is done, use the flat tongs to pull it off the grill in a serving tray. Allow it cool before slicing and serving.
Tips for a Perfect Grilled Pizza
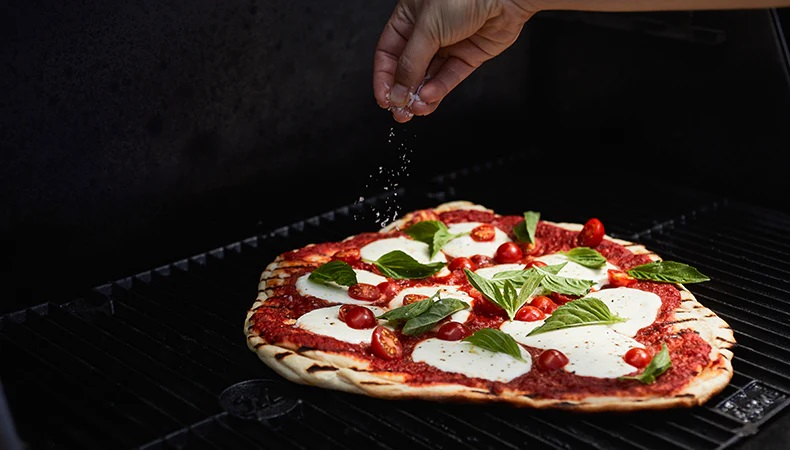
Image Credits: masterbuilt.com
i) Use Rice Flour
To avoid the pizza dough sticking to the grates, use rice flour instead of regular flour to stretch and shape the dough. In addition, rice flour burns at a higher temperature than normal flour, keeping the dough from burning.
ii) Arrange the Charcoal Correctly
Arrange the charcoal correctly to make the pizza base cook evenly without burning and hardening the center. Arrange a coal bend at the sides of the grill and leave a few lit-up charcoals in the middle.
iii) Do not Overheat the Grill
An overheated grill might cook the dough too fast on the outside while the inside remains uncooked. But, if the grill overheats, water it down before placing the dough. This provides just enough heat to cook the dough evenly.
How to Keep Pizza Warm
The grilling technique might be a new experience, and you may want to start early to catch up with dinner time. However, from the above steps, the technique is simple, and you can complete it before dinner.
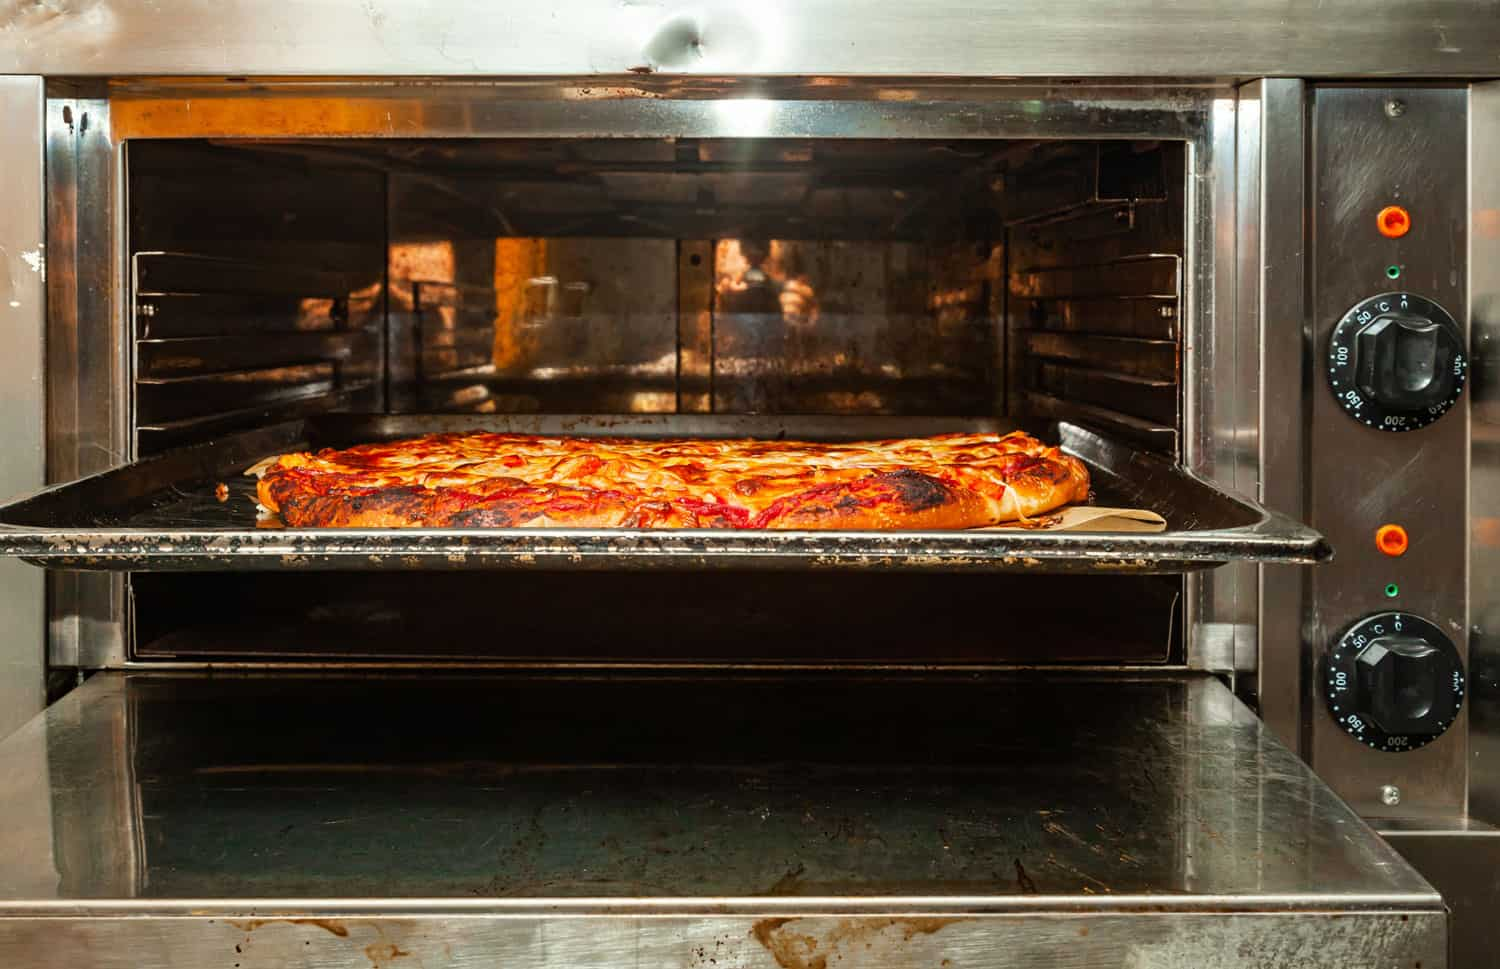
Image Credits: kitchenseer.com
Pizza should be served warm for a deliciously crunchy and cheesy feeling in your mouth when you take your first bite. But how can you keep your homemade pizza warm if you finish three hours early before dinner?
You can use three tips to serve your family some hot pizzas. Let’s look at these hacks that will make your life easier.
a) Using Aluminum Foil
If your pizza is ready sometime before dinner, you can wrap it in aluminum foil to retain the heat. Then when it gets cold during dinner, pop your wrapped pizza in the oven at 450 degrees Fahrenheit and warm it for 5 to 10 minutes.
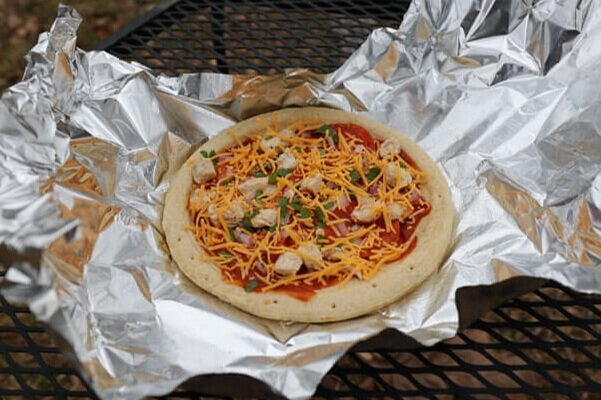
Image source: takethetruck.com
This process will make the pizza hot without interfering with the flavor. However, be cautious about setting the oven to the appropriate temperature, or you might end up with a burnt pizza.
b) Using Oven
An oven is used to warm many things, and pizza is not exceptional. First, heat the oven to 200 degrees Fahrenheit. Then, place the pizza in its box and put it inside the oven when it’s almost dinner. Since the oven is preheated, reduce the temperature to 140 or 150 degrees Fahrenheit.
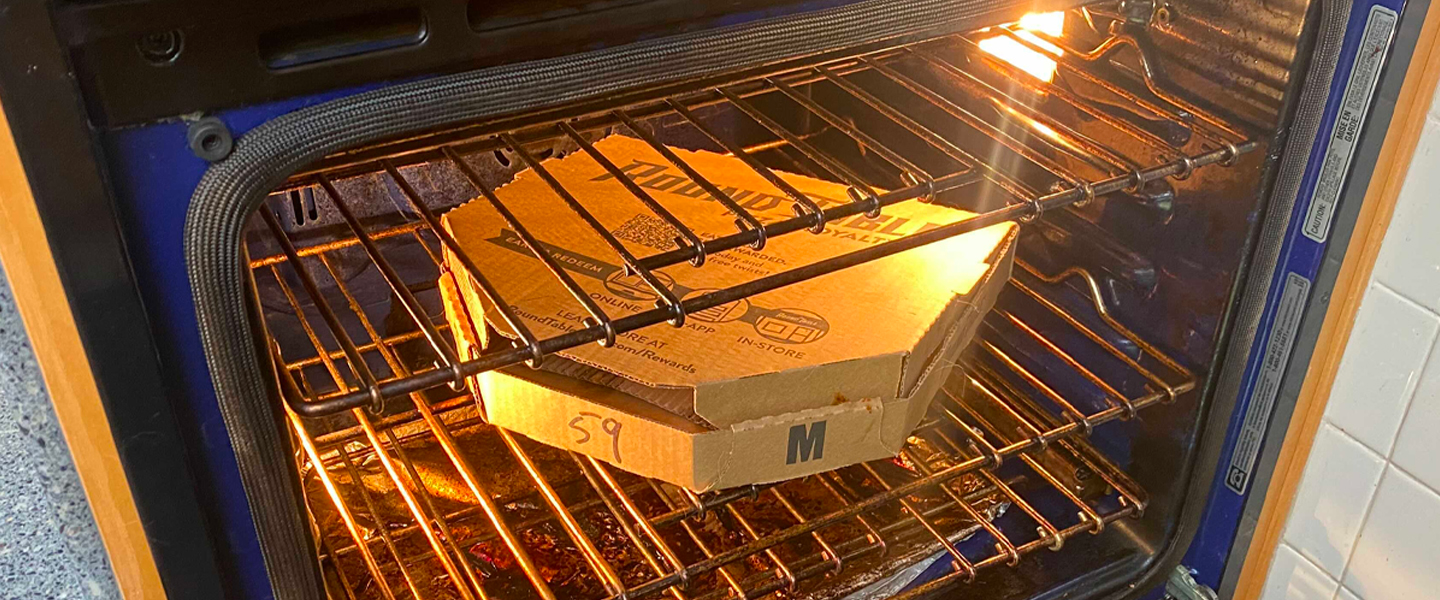
Image source: melmagazine.com
Remarkably, you can also cook pizza on the oven rack without a stone.
c) Using Cast Iron Pan
Preheat the cast iron pan until it’s hot enough. You can test if the pan is hot by pouring little water. If it sizzles and evaporates, then it is adequately heated. The bottom of the pan is like an oven, and it will work well in warming the pizza.

Image source: seasonsandsuppers.ca
Tilt the pan a bit and pour little water into the pan away from the pizza to make the crust soggy, then cover it with a lid. This gives a makeshift steam oven that melts the top of the cheese.
Bottom Line
A grilled pizza is a great addition to your barbecue, and you can make it on a charcoal or gas grill. You don’t require professional skills to grill pizza without a stone. The secret to a perfectly grilled pizza starts with a well-proofed dough and an adequately heated grill.
Also, moderate your toppings to avoid weighing down and breaking the crust. A light, crunchy grilled pizza is quite filling, so don’t let the lack of a pizza stone deny you the chance to make and enjoy the tantalizing flavors of lightly charred, smoky grilled pizza.
Featured Image Credits: bacinos.com


